

![]()
 Permit
- Call 831-338-8861 for permits. This is a popular trail so call ahead
and have some backup dates.
Campsites are $15 per night with an
$8 transaction fee.
Permit
- Call 831-338-8861 for permits. This is a popular trail so call ahead
and have some backup dates.
Campsites are $15 per night with an
$8 transaction fee.
Mileage - 25-33 miles depending on route, and who you believe. We did an estimated 7 miles the first day (Saratoga Gap to Waterman Gap), 10 miles the second day (Waterman Gap to Jay Camp/Big Basin Headquarters), and 12 miles the third day (Jay Camp/Big Basin Headquarters to Waddell Beach). My GPS acted up some, so was only able to accurately record day 1, bad gps! Mileage chart here.
Camps/Water - There is potable water/trash cans and bathrooms at Waterman Gap Trail Camp, Jay Camp/Big Basin Headquarters and at the ranger station north of Waddell Beach. The sites at Waterman Gap have no improvements (hang food from critters). Jay Camp has food lockers and a couple tables - consider reserving a car camping site at Big Basin instead, so you have more space and a table/fire ring. If you want to shorten your last day you can stay at Twin Redwoods. There is no bathroom an no water at the Saratoga Gap parking lot.
Hazards - Poison Oak, Mountain Lions, and pesky raccoons (although we only saw them at Jay camp)
Day 1
We have wanted to post a complete Skyline to the Sea trip on this site for a while. We have a partial trip on the site from 2002 (yes, it was a while ago). On that trip we did the traditional start at Castle Rock State Park and the "fun" car shuttle that is needed. We also completed this trip once (later in 2002, but I never went back to post it). This time we wanted to do the whole trail, starting from Saratoga Gap (at the junction of Highway 9 and Highway 35). We had four of us this trip: Jenn, Zakk, Leo and myself. The biggest hurdle in starting at the official start of the Skyline to Sea Trail is there is no overnight parking there. We opted to pay for a shuttle to drive us from our car at Waddell Beach (well we actually parked at the ranger station just north of Waddell Beach and walked down to the beach) to Saratoga Gap. We used Early Bird Airport Shuttle / Santa Cruz Airport Flyer, both names are really the same company. Dennis, our driver, was great. He showed up on time and very professional/knowledgeable. I would recommend him based on our experience. The shuttle trip took about 1.5 hours (it is a choice between a windy road back and a really windy road back, Highway 9 was closed, so not an option for us, long term construction per Dennis).

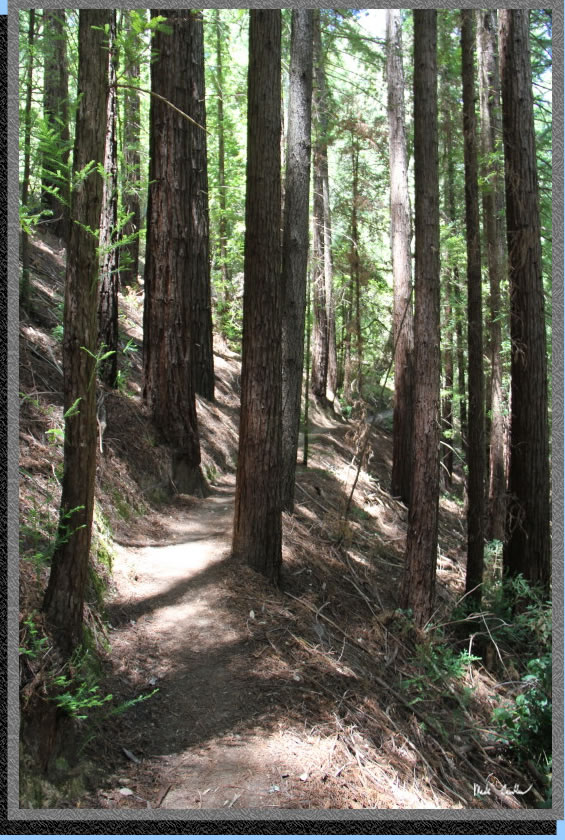
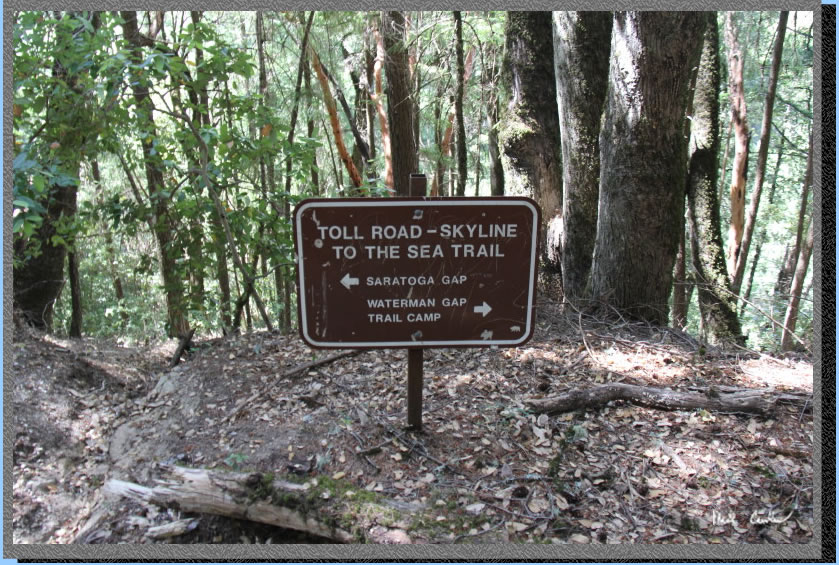
The trail is mostly downhill on Day 1 and almost all covered. Finding the actual start of the trail was a little trickier that I thought it would be. After we said goodbye to Dennis in the parking lot at Saratoga Gap, we started looking for some signs of the trail. As it turns out, my old map has the start of the trail on the north side of Highway 9, as it turns out the trail is on the south side of Highway 9. We quickly figured that out, and made a mental note that my map should not be trusted, completely. The GPS did a good job on day 1, see map and profile below. Look for the brown sign that says "Toll Road, Skyline to the Sea and Saratoga Gap Trails". The trail quickly descends, so it not readily visible from the road. This first section of trail is actually called the Saratoga Toll Road Trail as well as the Skyline to Sea Trail. Here is your first sign showing the "Skyline to the Sea" language.
After a short hike you will come to your first trail junction (there are many on the trail but all are well marked, we only took one wrong turn on this trip, I will explain on day 2). At the first junction head uphill to the road. After crossing Highway 9, carefully, you come to an information board and some maps (don't get excited though as they are for the area to the east, and you are headed west). Take a left and head down the trail. This section follows along the north side of Highway 9. Here is a shot of a poor squashed bug before you cross Highway 9.
Stay left at the next couple junctions with the Long Ridge Open Space. Remember to stay near the road. The trail is right next to the road at one point in this section. If you look close you will see a couple trail markers made out of concrete that say "Waterman Gap" with a directional arrow along the trail. Here is where the trail is pretty much on the road.
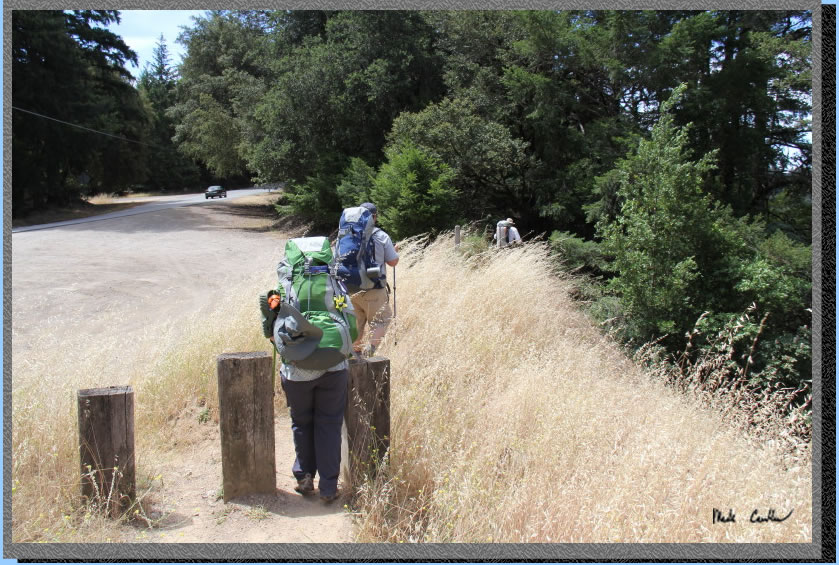
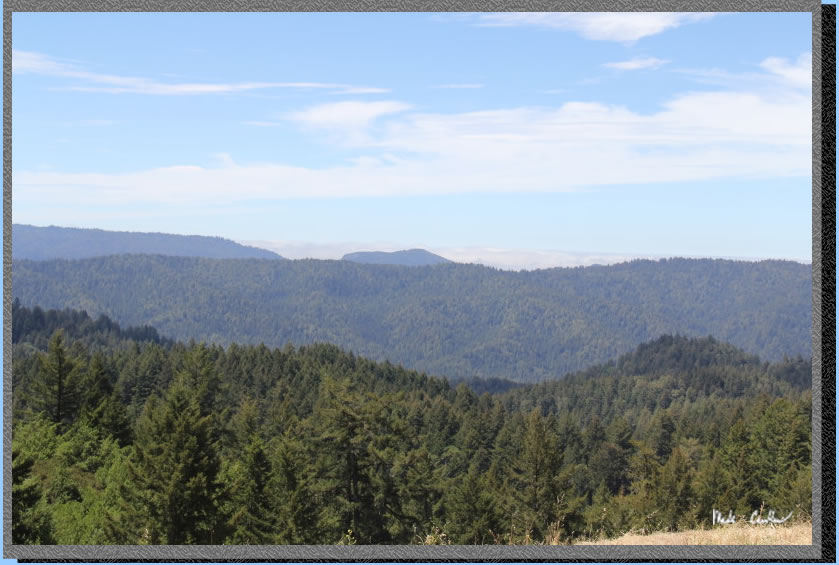
When you start hiking along a trail that looks more like a road you are close to the next Highway 9 crossing. At this crossing there is a vista point with trash cans and a pit toilet. Even if you don't need to use the facilities, the view is worth stopping for. We saw a group flying a drone when we stopped. Here is the view. While this vista point was open, the trail up to this point was covered well.
The trail starts down again after the vista point (you are now on the southeast side of Highway 9, and stay there for the remainder of the trail to Waterman Gap Trail Camp. Stay right at the junction with Beekhuis Road Trail.
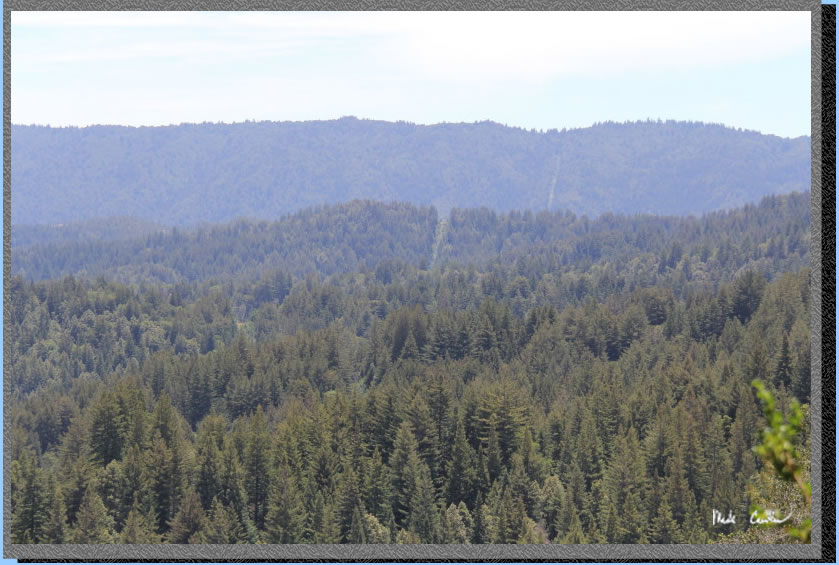
You can catch a cool vista from the trail in the next section. Don't let the sunlight fool you though, most of this trail is in the shade.
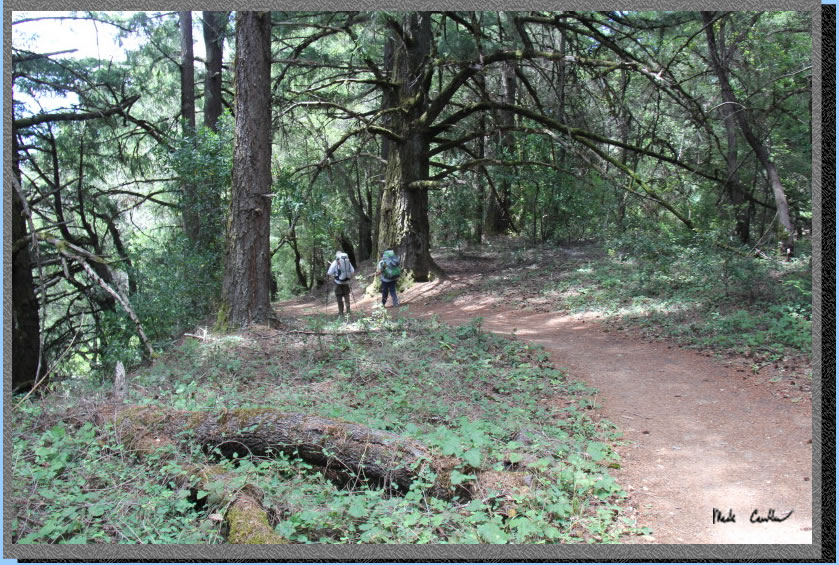
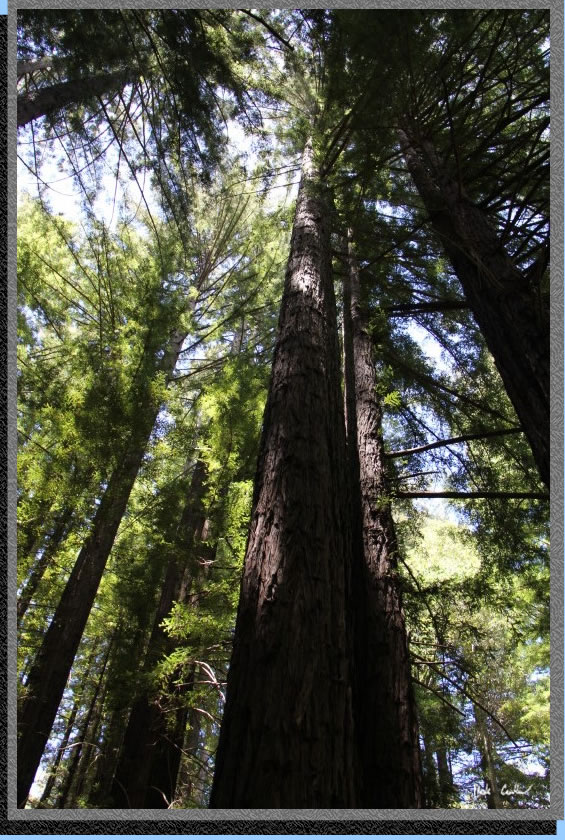
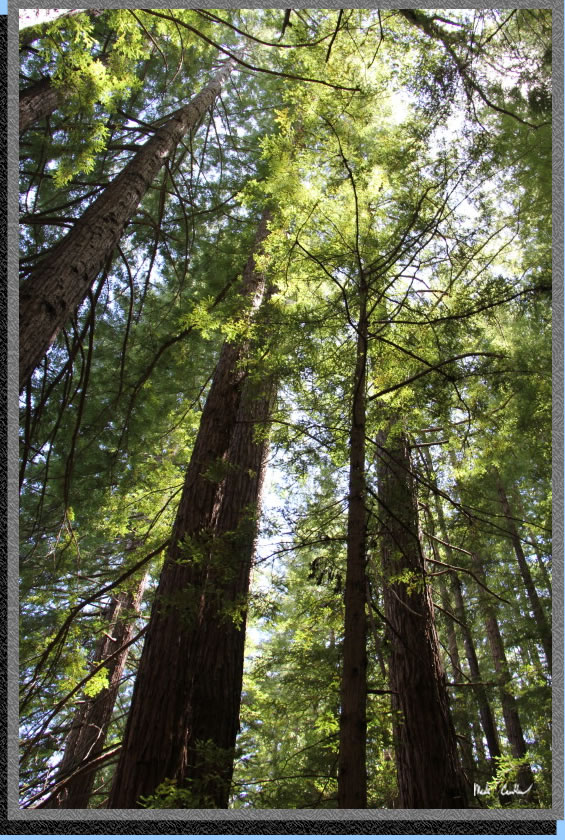
The redwoods start to become the dominant tree now as you get closer to the southern border of Castle Rock State Park. There is private land in this area so be sure to stay on the marked trails. Poison Oak is also plentiful in this area, another reason to stay on the trails.
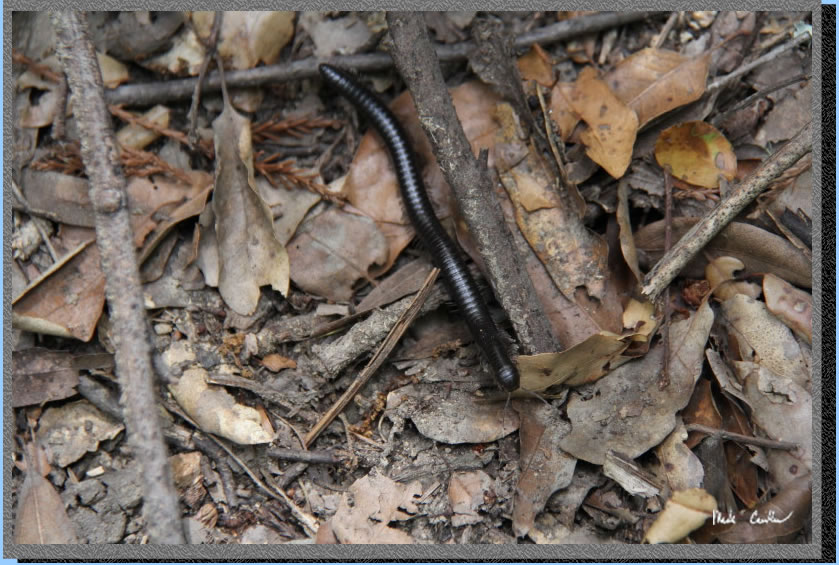
Black millipede coming through! It was quiet enough on this section of trail to hear him crawling over the dry leaves. I must admit it freaked me out a little when I zoomed in for this shot, I wasn't sure how close he was to my feet!
The next opening shows how PG&E has to keep our power lines clear of trees.
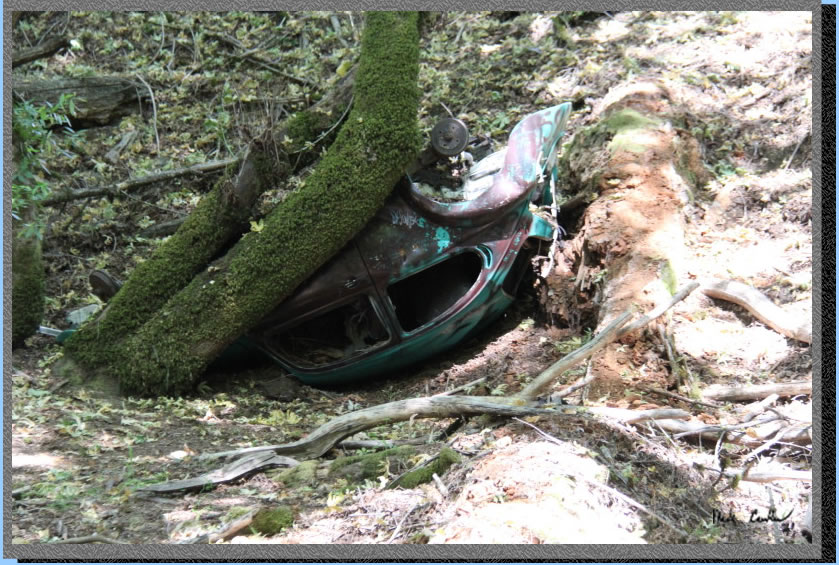
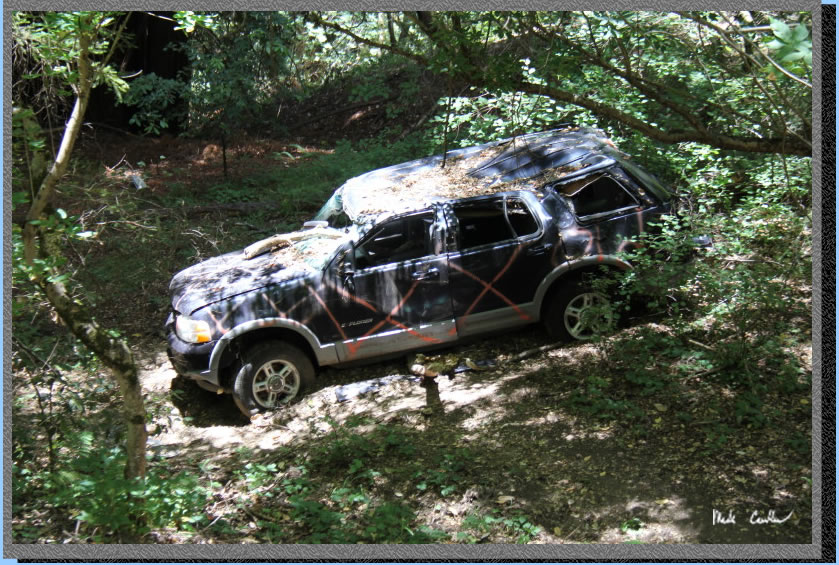
So you can tell that the highway is nearby (occasionally you will hear the cars above). I can't imagine what crashing off the road and down into the trees must be like. There are a few vehicles that are just left down near (and past) the trail.
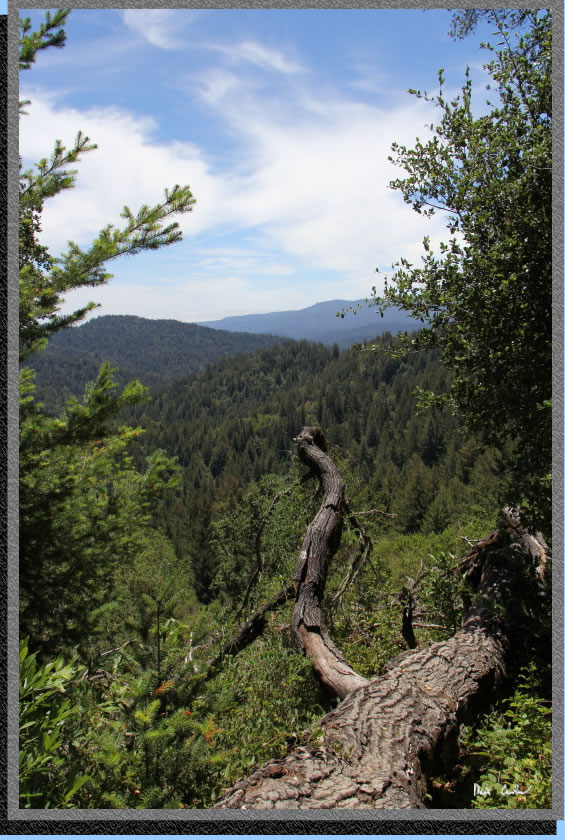
There were some great sights along this section of trail, only a couple really translated well to film.
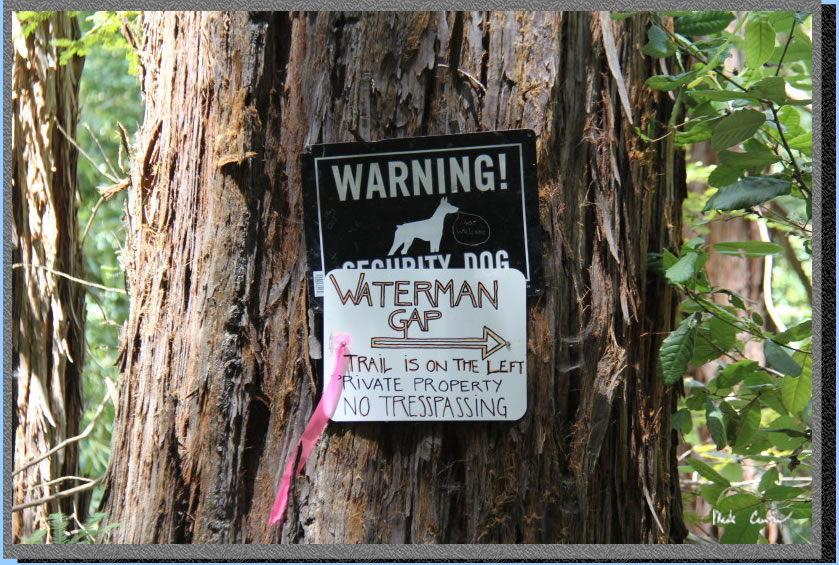
This was my favorite junction of the day. Apparently more than a few hikers must get confused at this junction as the land owner has decided to make his own signs to help us on our way. We did hear the "guard dog" and saw some people camped out nearby. I assume the people camping also own the land, but I am not sure what was really going on here.
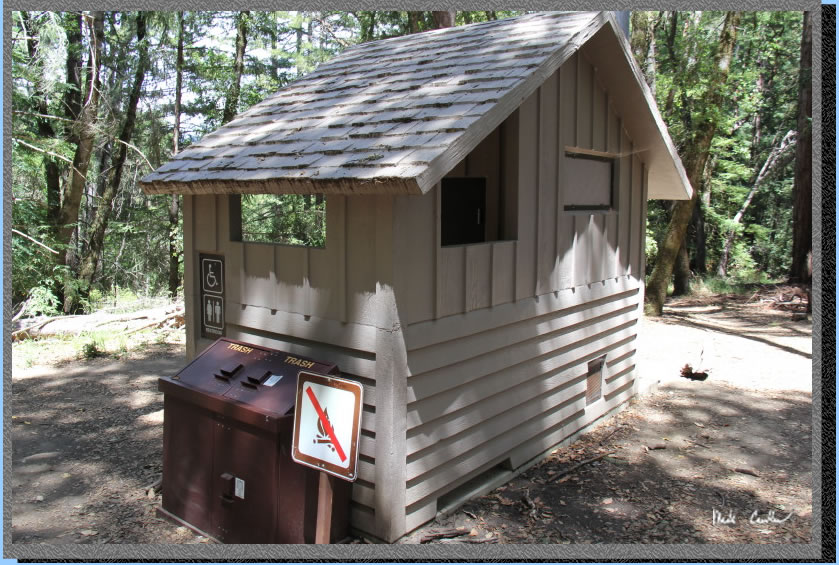
After passing the water tank you make it to Waterman Gap. There is potable water (most of the time, call ranger for trail/camp conditions). Camp has trash cans and a nicer pit toilet. No toilet paper though, so bring your own. There are 6 sites. Sites 5 and 6 are past site 4, furthest from the bathroom.
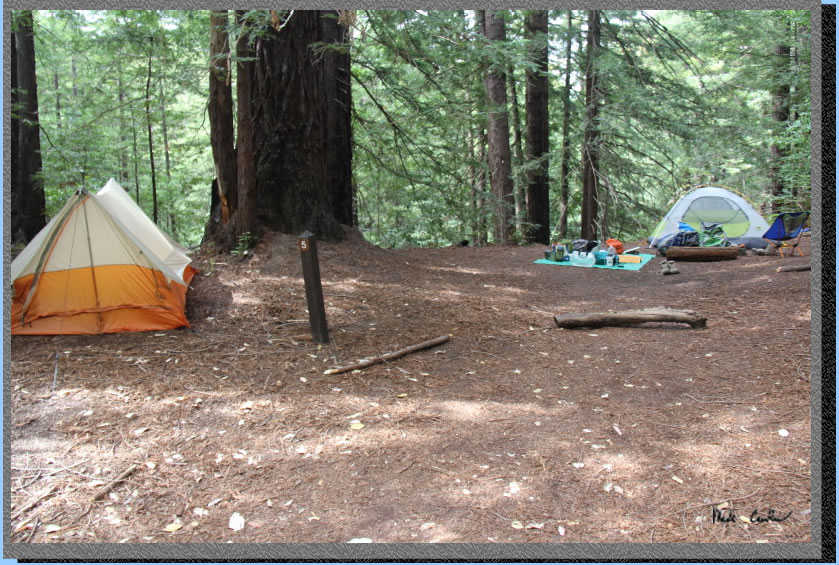
We were the first ones to reach camp that day and picked out site #5. It was big enough to setup our 2 tents and 1 hammock. We hung out and enjoyed the shade. Our friends the mosquitoes eventually came out and we Deet'ed up. We also made plans to hit the sack early so we could all be ready early the next morning for the 9.5 miles to Big Basin/Jay Camp. We all dreamed of our favorite cold beverage after a long hike to Big Basin, I did mention there is a store that is open until 8 pm at Big Basin that sells food, snacks, and beer, right?!
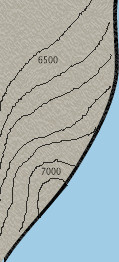
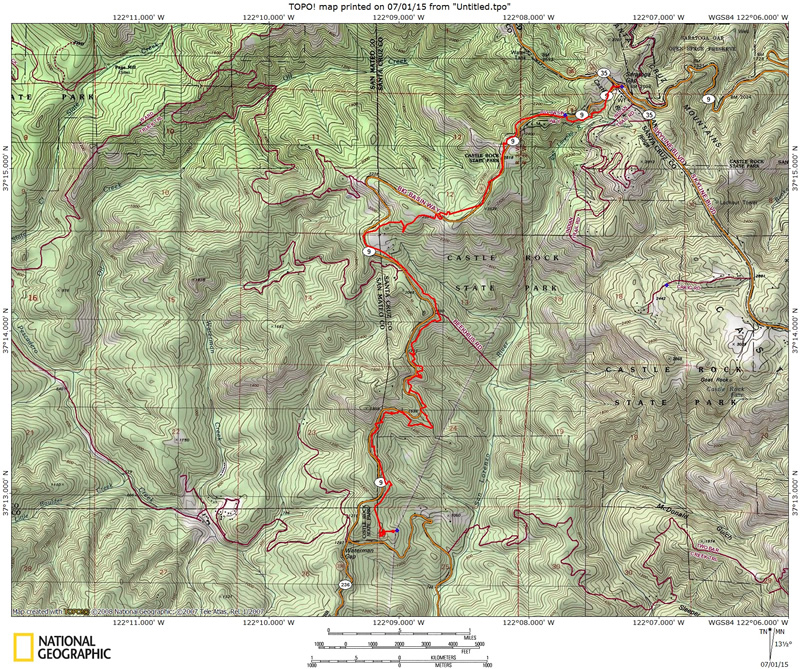
Bright red line shows the
trail from the parking lot at Saratoga Gap parking lot to Waterman Gap
(Day 1). Click on either for a larger image. For day 2 and day 3 maps
you can buy an official map or use the ones online at www.redwoodhikes.com.
.
(back to top)
